On Sunday 17th May it’s World Baking Day, a day you can’t properly celebrate without something delicious to tuck into! And what good timing too, as many of us have turned to baking over the past few weeks to keep our hands busy and our minds focused, it seems only fitting to be spreading the joy and wonder that is baked goods.
You don’t have to have the culinary expertise of a top patisserie chef to get involved either, as proven by our Digital Team! We’re lucky enough to have some keen bakers here at QVC and you’ll often find us crowded around the latest treat someone has brought in when we’re in the office. So we got a few of them together to share a favourite recipe that you can try at home, including some not-so-secret-anymore family ones!
Let’s take a look…
Jess N – Mrs Sager’s ‘cake’
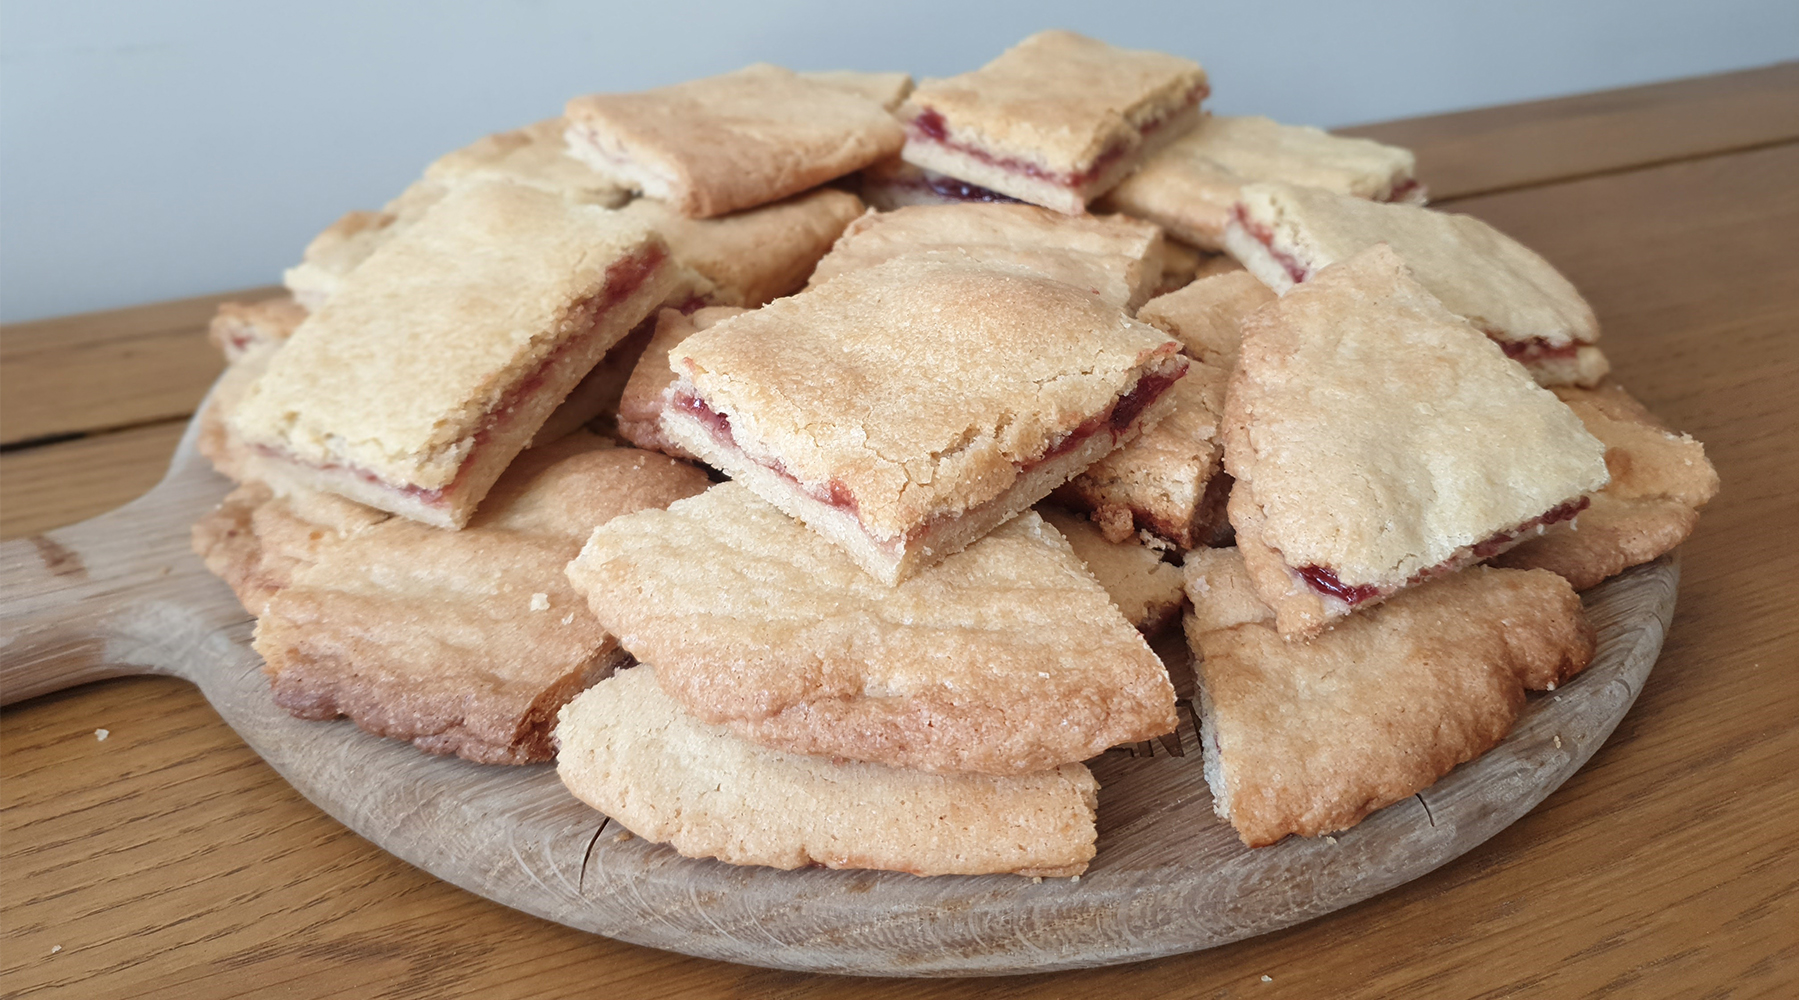
Mrs Sager was a distant relation on my mum’s side, who’s recipe was sent in a letter to my grandma when they were living in Peru, but without any measurements included! Not knowing exactly what it was meant to be, my grandma made a kind of cakey/shortbread with jam in the middle.
When they got back to the UK, it turned out it was meant to be a sponge cake, but as my grandma’s interpretation proved so popular all over the world, we still make it like she did! I know whenever my mum makes it, it reminds her of her mum and whenever I make it, it takes me straight home to mine.
Ingredients:
- 3 cups plain flour
- 1 ½ cups sugar (any white/golden variety)
- 8oz mix of margarine and lard
- 1 egg
- 2 tsp baking powder
- a little milk
- good quality jam (we usually use strawberry)
Method:
- Pre-heat the oven to 180C/gas mark 4
- Prepare two baking trays with greased baking paper
- Mix the flour, sugar and baking powder together
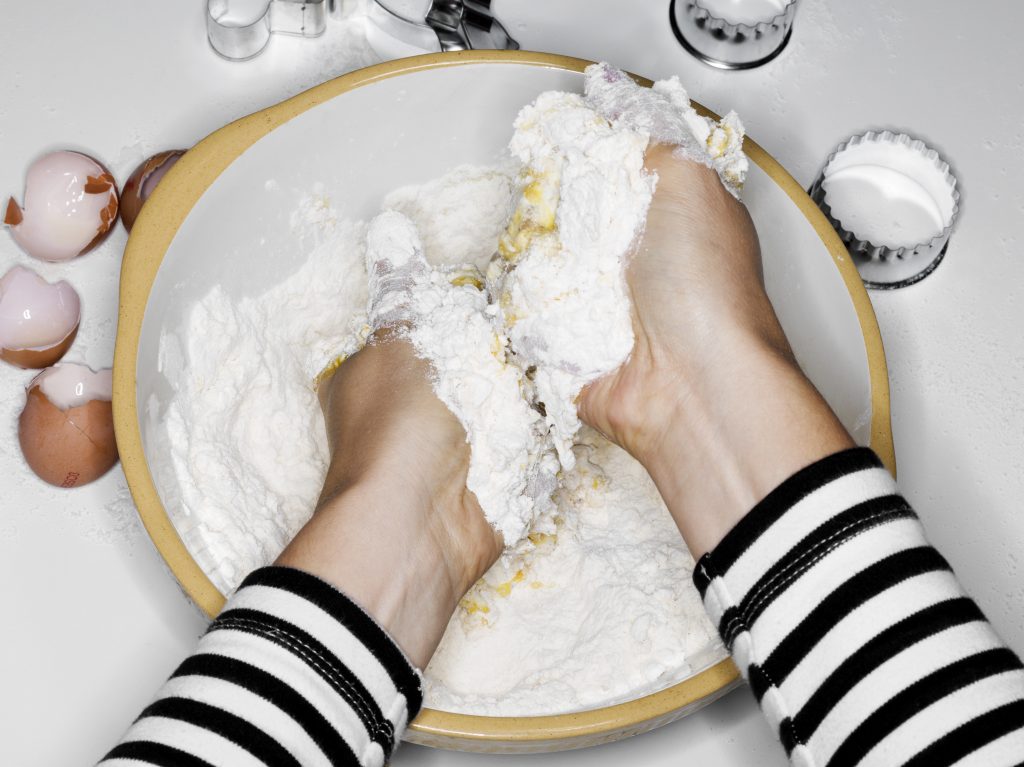
- Rub in the margarine and lard until you get a sand-like texture, this can take a while but be patient
- Add the egg (and a little milk if needed) to make a ‘sticky’ pastry
- Divide the pastry into four
- Sprinkle a surface with flour and roll out two circles/ovals that will fit onto your two baking trays
- Carefully peel them off and place them onto your trays
- Cover each circle with good jam, leaving a slight gap towards the edge
- Roll out the other two sections of pastry into similar shapes
- Place them over the top of the jam covered circles to create a sort of pastry jam sandwich (don’t worry too much if the shapes don’t line up perfectly, it doesn’t need to be the neatest)
- Pop into the oven and bake for approximately 20 minutes until golden
- Leave to cool on the baking trays, then cut into pieces and enjoy!
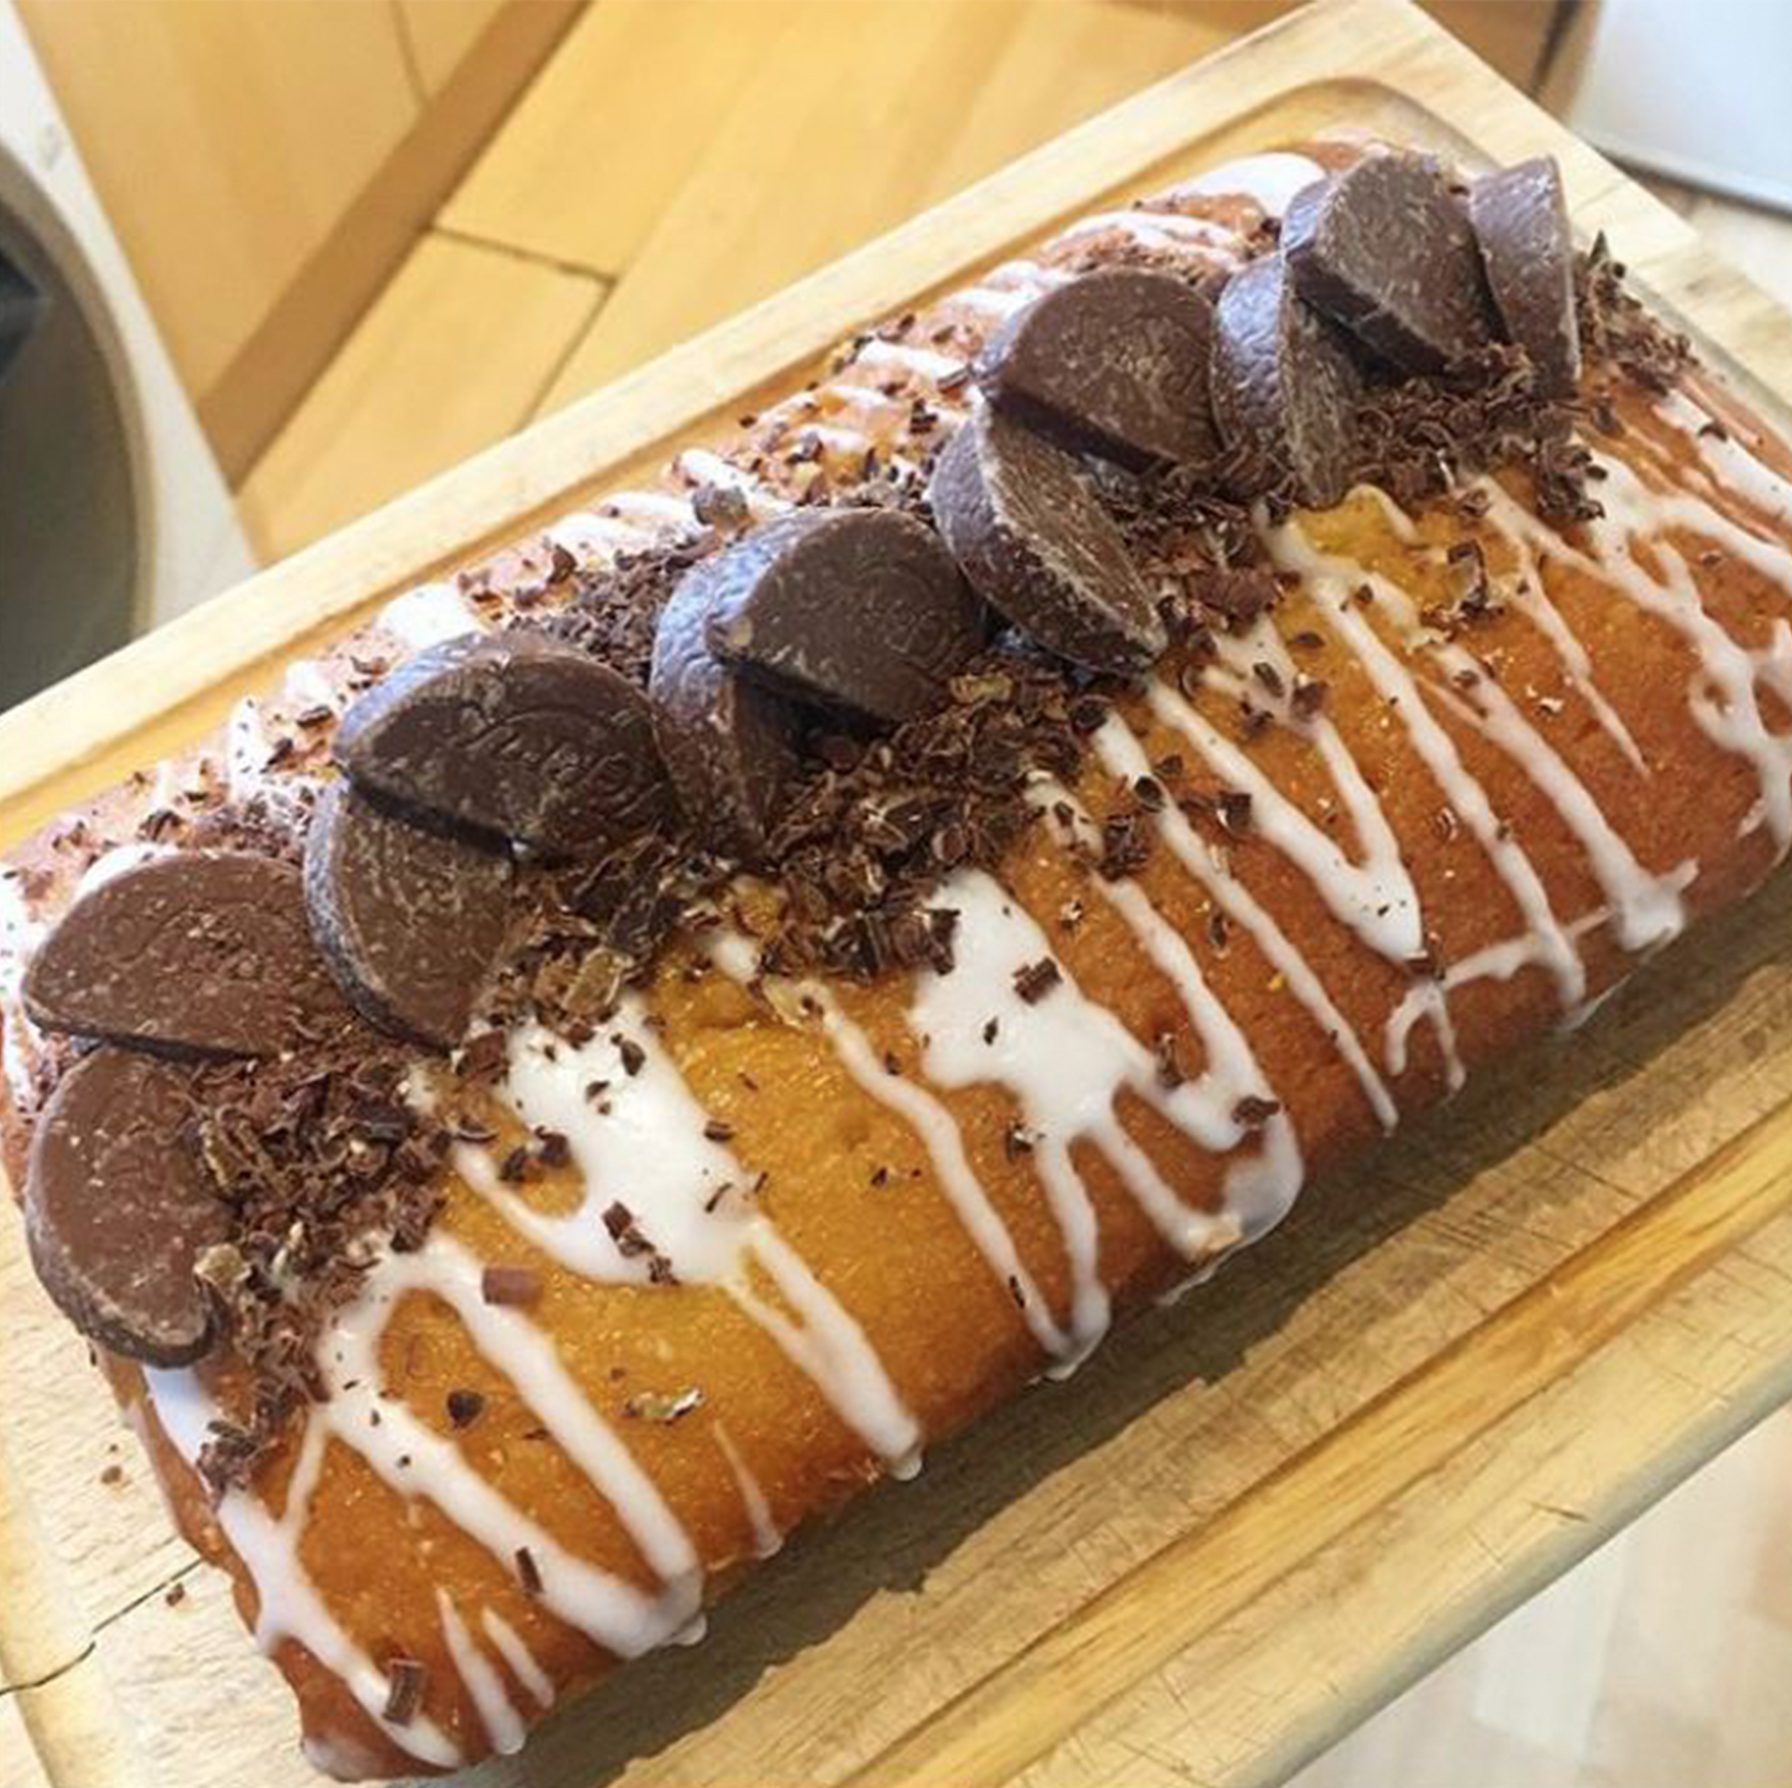
Josie – Orange drizzle cake with chocolate orange
This is a recipe I adapted from an (very) old lemon drizzle cake recipe – I added Cointreau as well as orange, as who doesn’t love a bit of booze in a cake?!
I originally made it for my husband for his birthday last year, as he loves chocolate orange but actually doesn’t particularly like chocolate cake. So it’s not too chocolatey, as you can add as much or as little chocolate topping as you like! You can even make it without the chocolate topping as an orange drizzle cake instead.
Equipment:
- a medium loaf tin
Ingredients:
Cake:
- 125g unsalted butter
- 175g caster sugar
- 2 large eggs
- zest of 1 orange
- 175g self-raising flour
- pinch of salt
- 4 tbsp milk
Syrup:
- juice of 1 orange
- 1/4 cup Cointreau
- 1 tbsp water
Glaze:
- 1 cup icing sugar
- Cointreau
- water
To decorate:
- Mini Terry’s chocolate orange slices
- Dark chocolate orange to grate
Method:
- Preheat your oven to 180C/gas mark 4, butter and line your loaf tin
- Cream together the butter and sugar, then add eggs and orange zest. Beat together well
- Gently fold in the flour and salt, mixing thoroughly and then add the milk
- Spoon the batter into your tin. Bake for 45 mins (or until cake tester comes out clean)
- Make the syrup: put the orange juice, Cointreau, and water into a small jug or mug and stir to combine
- As soon as the cake is out of the oven, puncture all over with a skewer and pour the syrup all over the cake
- Leave your cake to cool completely before removing from the tin
- Make the glaze: put the icing sugar into a small bowl and add equal parts of Cointreau and water, a teaspoon at a time, stirring between additions until a thick glaze mixture is formed
- Spread the glaze over the cooled cake
- Decorate your cake with chocolate orange – I used mini orange wedges and grated dark chocolate orange
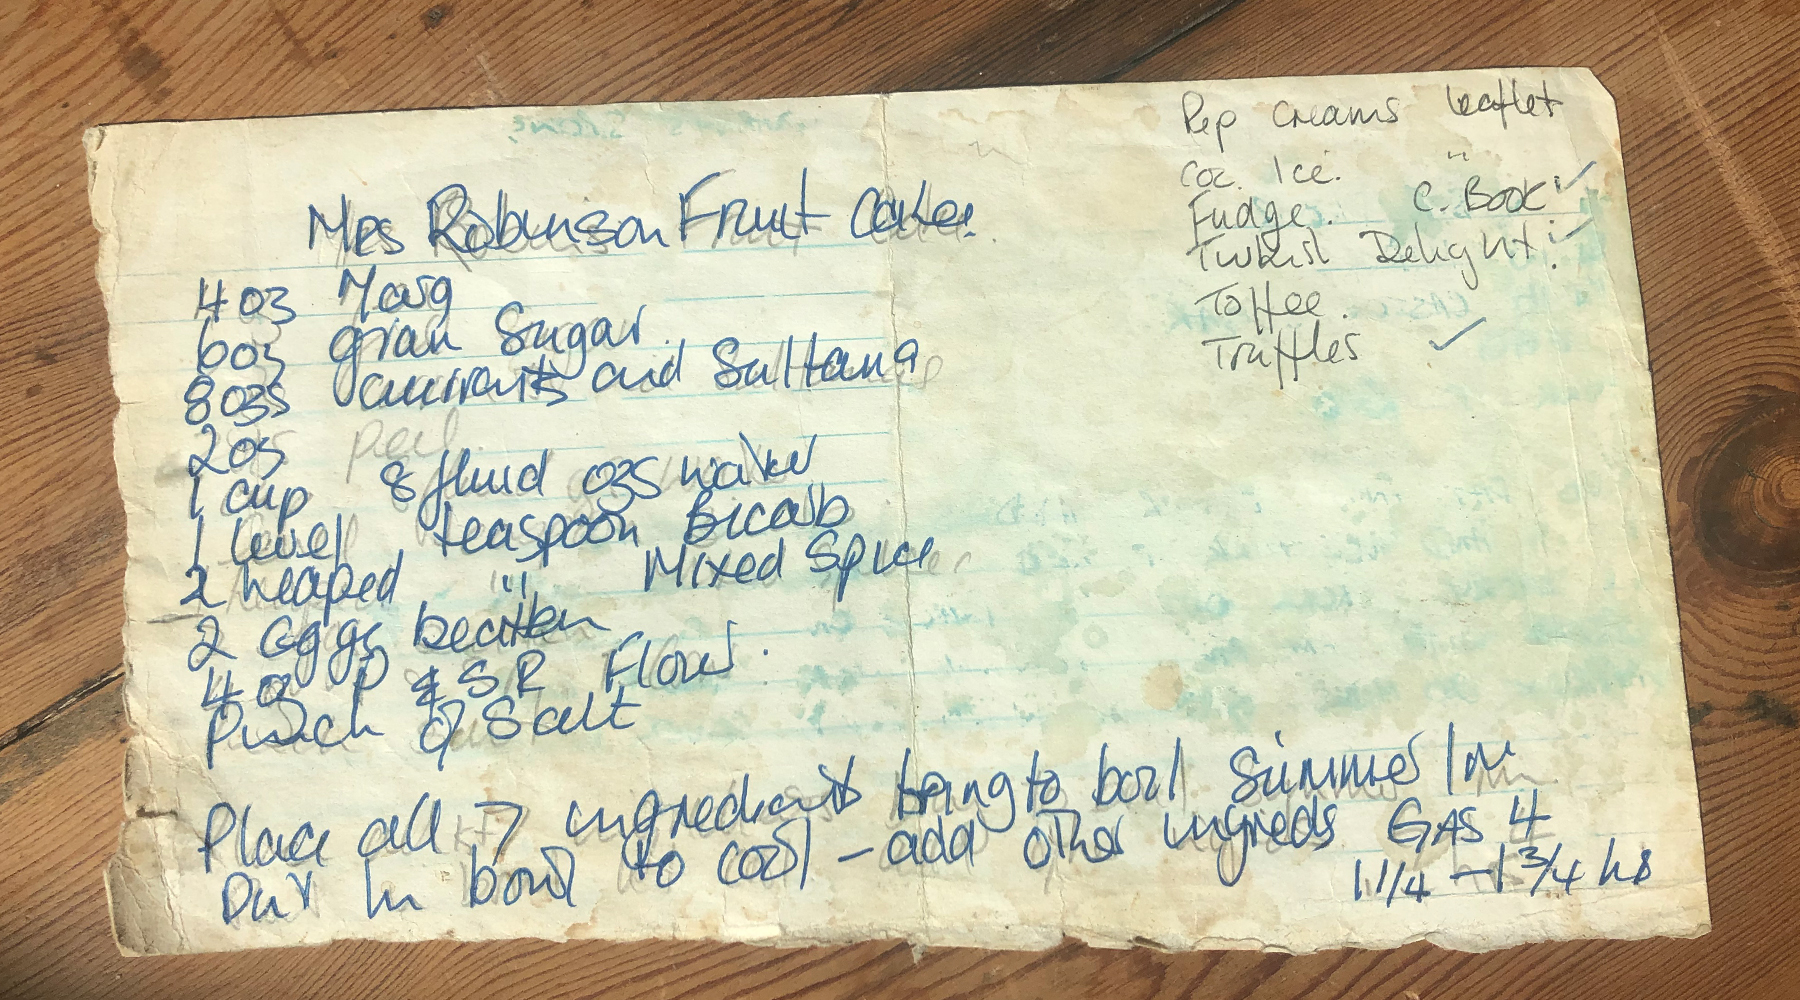
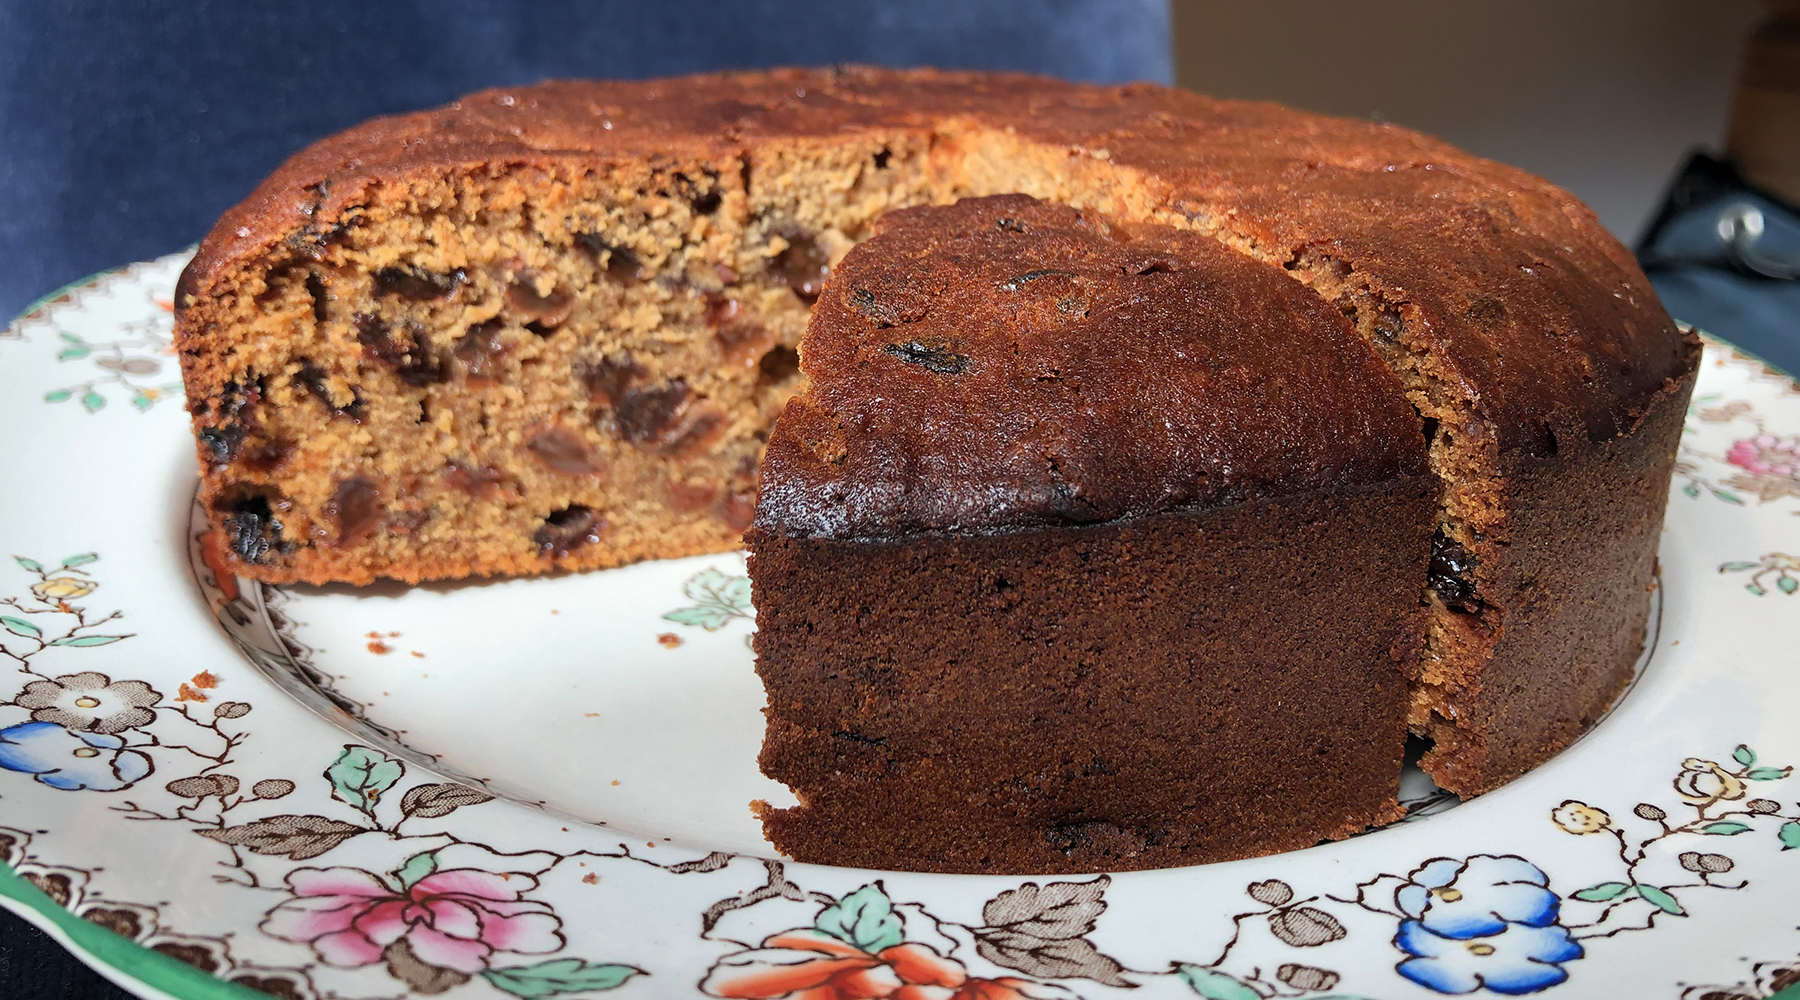
Laura – Mrs Robinson’s fruit cake recipe
My mum has had this recipe on a scrap of paper since the 70s and it’s a firm family favourite now – you can see how often it’s been used by the ageing of the paper. To serve, you can slice thinly and spread with butter, or cut large slices and eat as is. Either way, large mugs of tea to accompany it are a must!
Also, we have no idea who Mrs Robinson is.
Ingredients:
- 120g (4oz) margarine
- 170g (6oz) granulated sugar
- 225g (8oz) currants and sultanas
- 55g (2oz) peel (Tip – add/replace with glace cherries for extra moisture!)
- 240ml (8fl oz) water
- 1 level teaspoon of bicarbonate of soda
- 2 heaped teaspoons of mixed spice (Tip – add ground ginger for more spice!)
- 2 eggs (beaten)
- 120g (4oz) each of pain and self-raising flour (totalling 240g (8oz) of flour)
- Pinch of salt
Method:
- Place margarine, sugar, fruit, water, bicarbonate of soda and spices in a large saucepan and bring to boil, then simmer for about 5 minutes to add plumpness to the fruit
- Leave to cool, then mix in the beaten eggs, sieved flour and salt
- Turn out into a greased and lined cake tin scraping all the mixture and spreading it out evenly with a spatula
- Bake at 180C/gas mark 4 for 1 hour 15 mins – 1 hours 45 mins
- Check your bake after 1 hour 15 mins by inserting a thin skewer (or cocktail stick) into the centre of the cake. It should come out clean with no streaks of mixture – a few small crumbs are fine
- If mixture is visible put back into the oven and test again in 15-minute intervals
Jessica M – Dark chocolate biscuit (cake)
This chocolate biscuit cake recipe is from my mum, who got it from a friend, who got it from her mum (I think). I can’t bake but I can make this, and it gets demolished in minutes! It’s the perfect sweet treat when you’re short on time but still want to make something from scratch. This recipe serves six – or two, if you feel like going all in.

Ingredients:
- Two large bars of dark chocolate (preferably over 70%)
- 150g salted butter
- 300g digestive biscuits
- 6 tbsps golden syrup (buy the one in a squeezy tube so you don’t ruin your kitchen!)
- 6 tbsps good quality drinking chocolate
Method:
- Bash up the biscuits in a plastic bag
- Melt the butter
- Once the butter is melted, add in the golden syrup and drinking chocolate until the mixture is glossy
- Add in the biscuits and mix again
- Pop the chocolatey biscuit mix into a baking tray or twin
- Leave to cool on the side
- Melt the dark chocolate in a saucepan or in the microwave (either is fine)
- Once melted, pour an even layer onto the biscuit mix
- Chill in the fridge for minimum of four hours
- Once it’s ready, slice up and eat IMMEDIATELY!
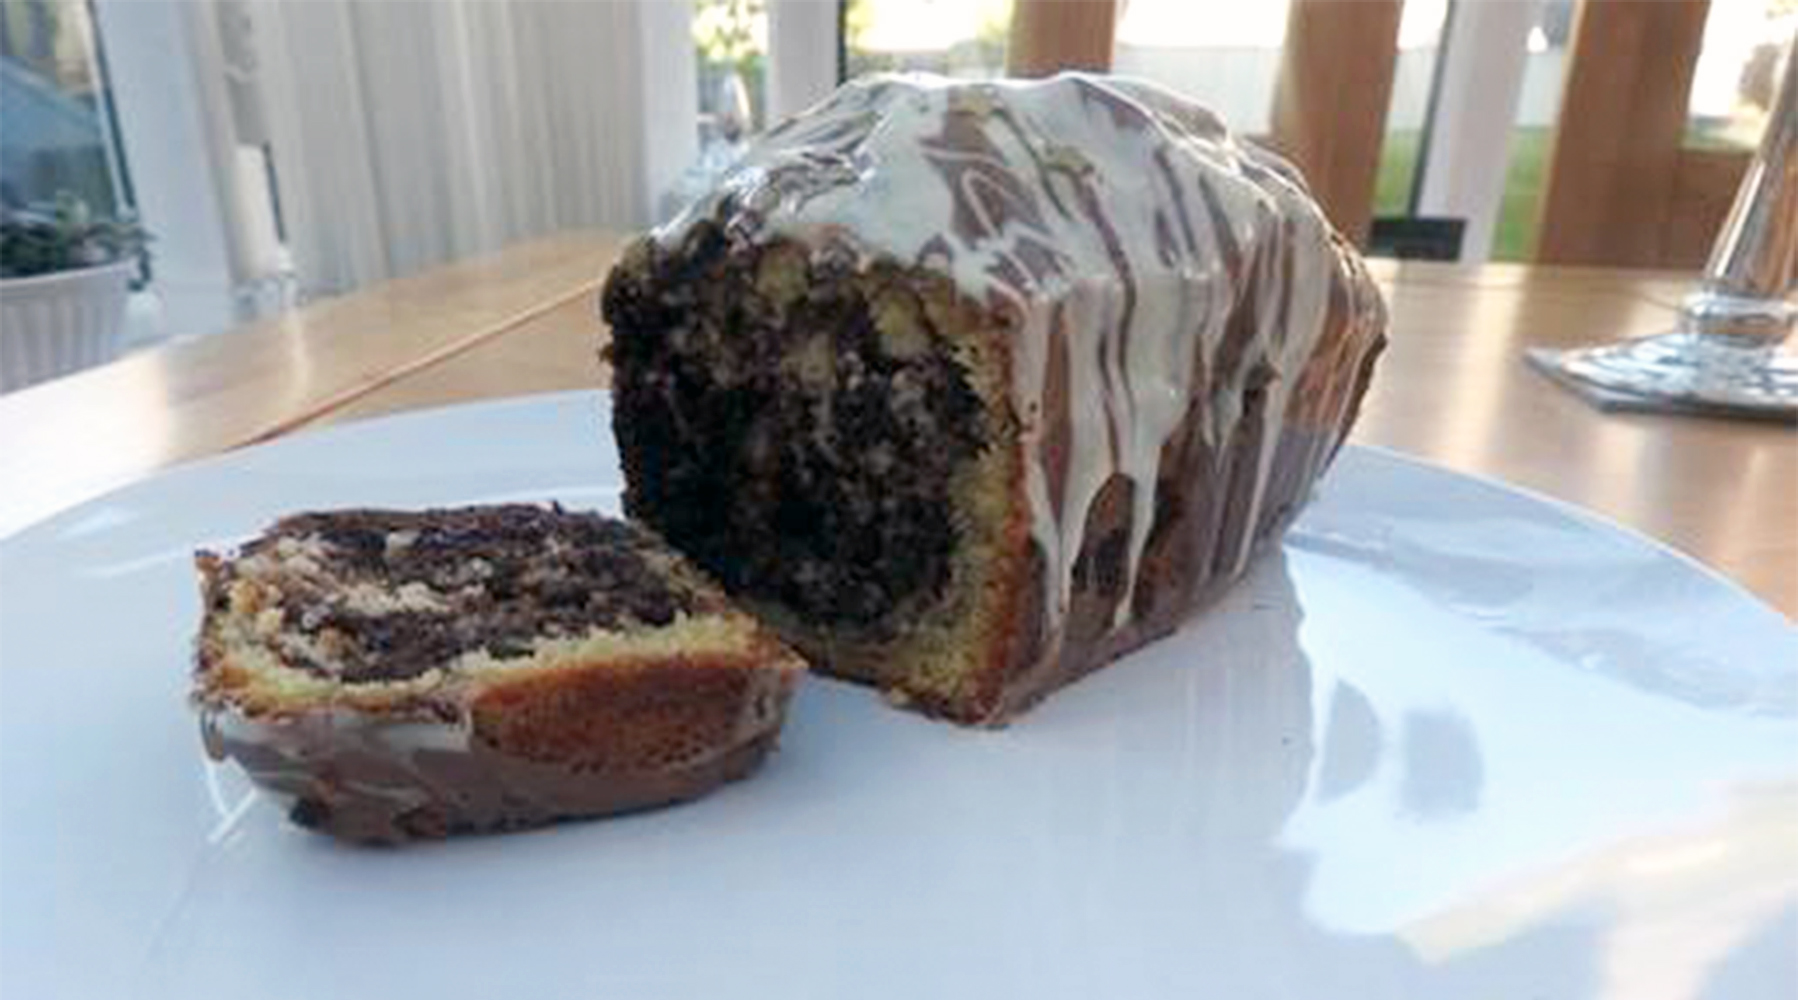
Sam – Grandad Keith’s chocolate marble cake
My grandad Keith’s chocolate marble cake is a firm family favourite. The original recipe has plain chocolate chips, but I go for a large bar of both white and milk chocolate!
Ingredients:
- 8oz soft butter
- 8oz caster sugar
- 10oz self raising flour
- 2tsp baking powder
- 4 eggs
- 2tbsp milk
- ½ tsp vanilla essence
- 1 ½ tbsp cocoa powder
Method:
- Preheat oven to 180C/gas mark 4
- Beat butter, sugar, flour, baking powder, eggs, vanilla and milk together for around 2 minutes
- Dot half the mixture across a greased baking tray (or in a loaf tin)
- Mix cocoa powder with hot water and add to the remaining mixture along with chocolate chips OR half a bar of each chocolate that has been cubed up
- Add to tray
- SWIRL (most important step)
- Bake 35-40 minutes
- Test if done
- Eat
- OR, melt remaining chocolate and drizzle on top!
We hope we’ve inspired you to give one (or all!) of our recipes a try, or to go out there and find more favourites. It doesn’t matter if you’ve never baked before, it really is something everyone can have a go at.
Of course, if you don’t have the time or the ingredients to bake, you can always celebrate World Baking Day by ordering something tasty straight to your door too.
As well as an abundance of useful baking equipment, we have a range of delectable cakes and chocolates available in our World Baking Day Collection to treat yourself or a loved one to.
However you choose to celebrate it, we hope you enjoy tucking into something delicious on May 17th.
Happy baking!