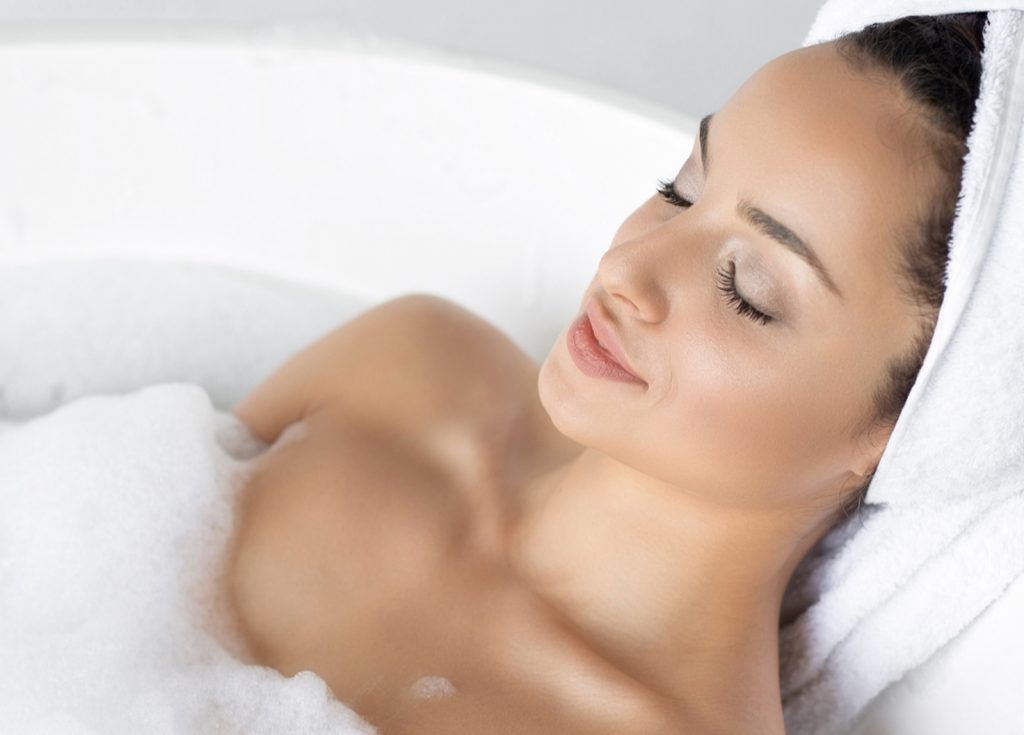
Concealer is one of those make-or-break make-up items. Applied well, and you’ve got a brightened, perfected complexion that should last you the day. Applied haphazardly, and you could end up with a skin tone that looks uneven or blotchy. Luckily, we’ve got our make-up masterclass to help you with all things concealing.
The formulas
Like foundation, concealer comes in an array of formulas. Liquids, creams, sticks… and that’s before we get started on colour correcting, brightening and coverage. Think about your skin concerns. Are you looking to conceal blemishes and redness, brighten under the eyes, or play around with contouring and strobing?
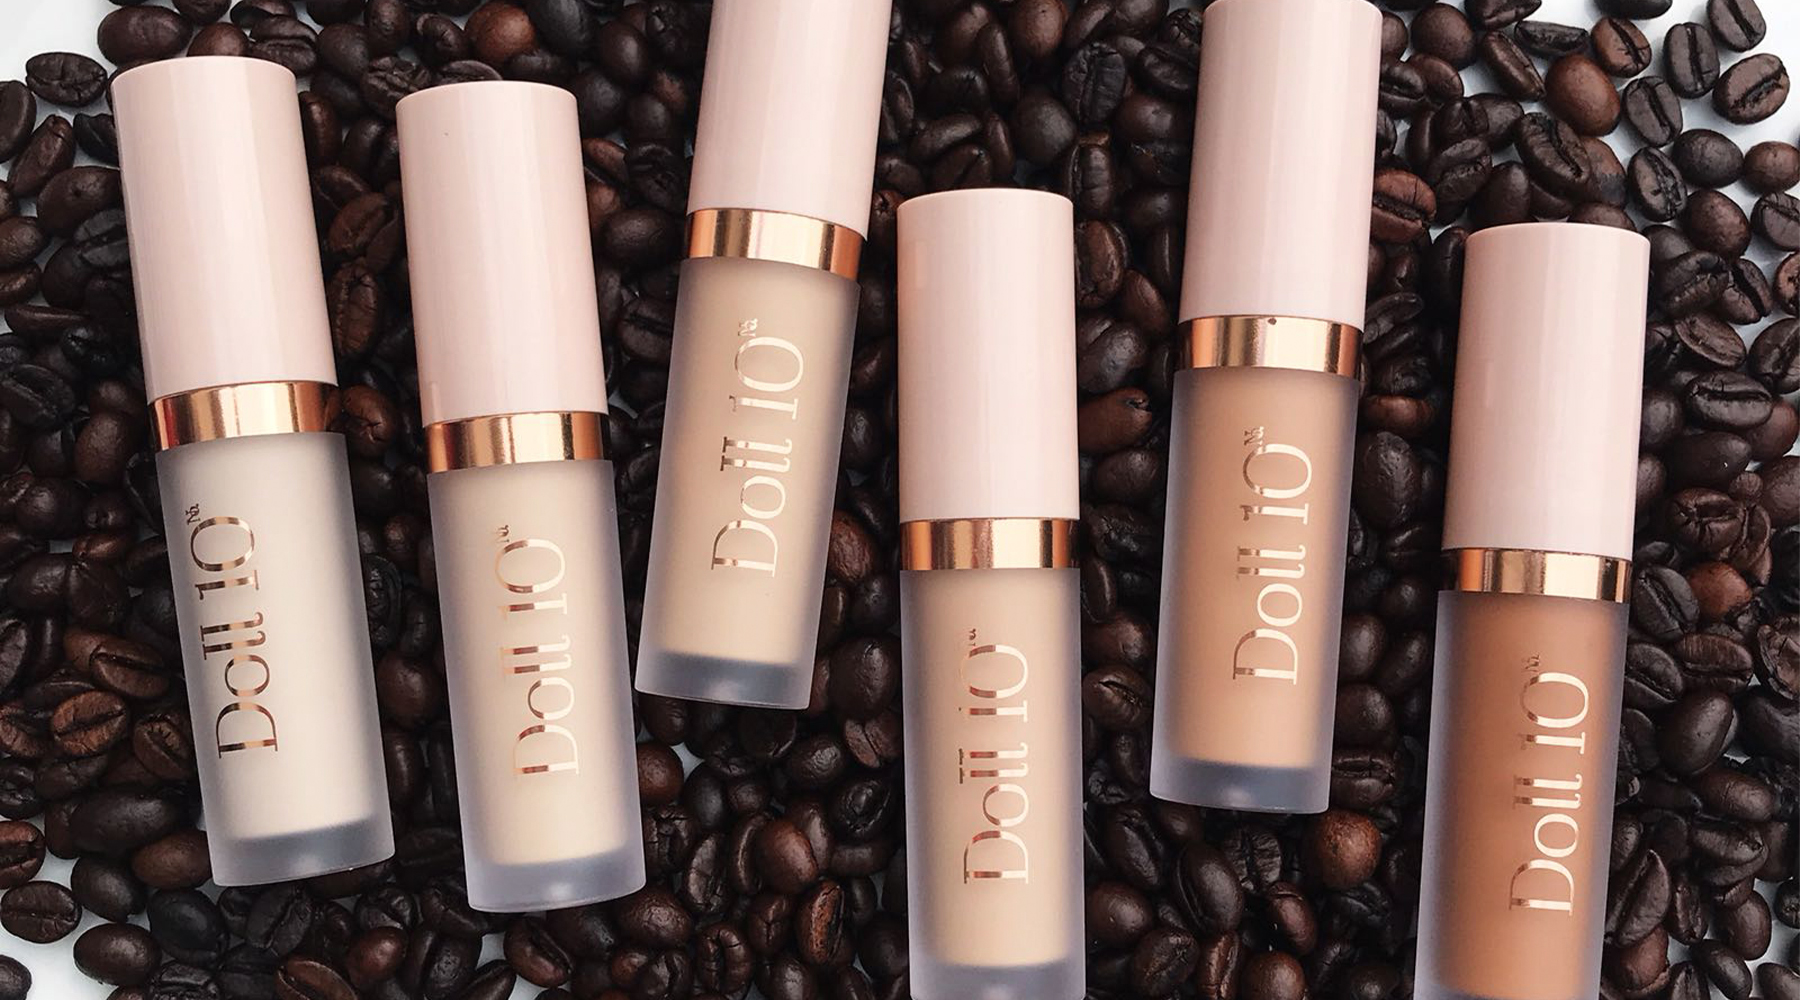 Liquid formulas like Doll 10’s HydraLux Smoothing Concealer are great all-rounders. With different levels of coverage available, they’re a fabulous option if you want to cover up the odd pesky spot while also concealing under the eyes. Liquid concealers are great for contouring too, as they buff out really nicely.
Creams tend to be fuller coverage but easy to blend, making them ideal for blemishes. If you love that full-on flawless effect, a cream concealer like Lord & Berry’s Flawless Concealer is one to add to your kit. Plus, you can apply a small amount using a detail brush and blend out for a seamless finish.
Liquid formulas like Doll 10’s HydraLux Smoothing Concealer are great all-rounders. With different levels of coverage available, they’re a fabulous option if you want to cover up the odd pesky spot while also concealing under the eyes. Liquid concealers are great for contouring too, as they buff out really nicely.
Creams tend to be fuller coverage but easy to blend, making them ideal for blemishes. If you love that full-on flawless effect, a cream concealer like Lord & Berry’s Flawless Concealer is one to add to your kit. Plus, you can apply a small amount using a detail brush and blend out for a seamless finish.
 Stick concealers are the epitome of make-up on the go. Just draw on where you need the extra coverage, and blend out with your finger. You get a great deal of coverage with a stick formula, such as the Bareminerals Barepro Full Coverage Concealer – something to bear in mind if you’re only after a gentle brightening effect for under the eyes.
When to apply concealer
This is often up for debate, however the general consensus is after foundation, if you’re choosing to wear any. Your foundation will even out your skin tone first, while concealer will target any areas that need extra coverage. Applying concealer onto bare skin before foundation could end up in over-application and a cakey complexion.
If you’re not a foundation fan, go straight in with your concealer after your moisturiser or primer, and buff out the edges for a naturally-perfected finish.
Where to apply concealer
Are there any areas of redness or blemishes peeking through? Conceal them! Under eyes in need of perking up? Add concealer. Want to create a more chiseled face shape? You guessed it, concealer! How to apply concealer, however, differs depending on the look you want to achieve.
Covering redness and blemishes
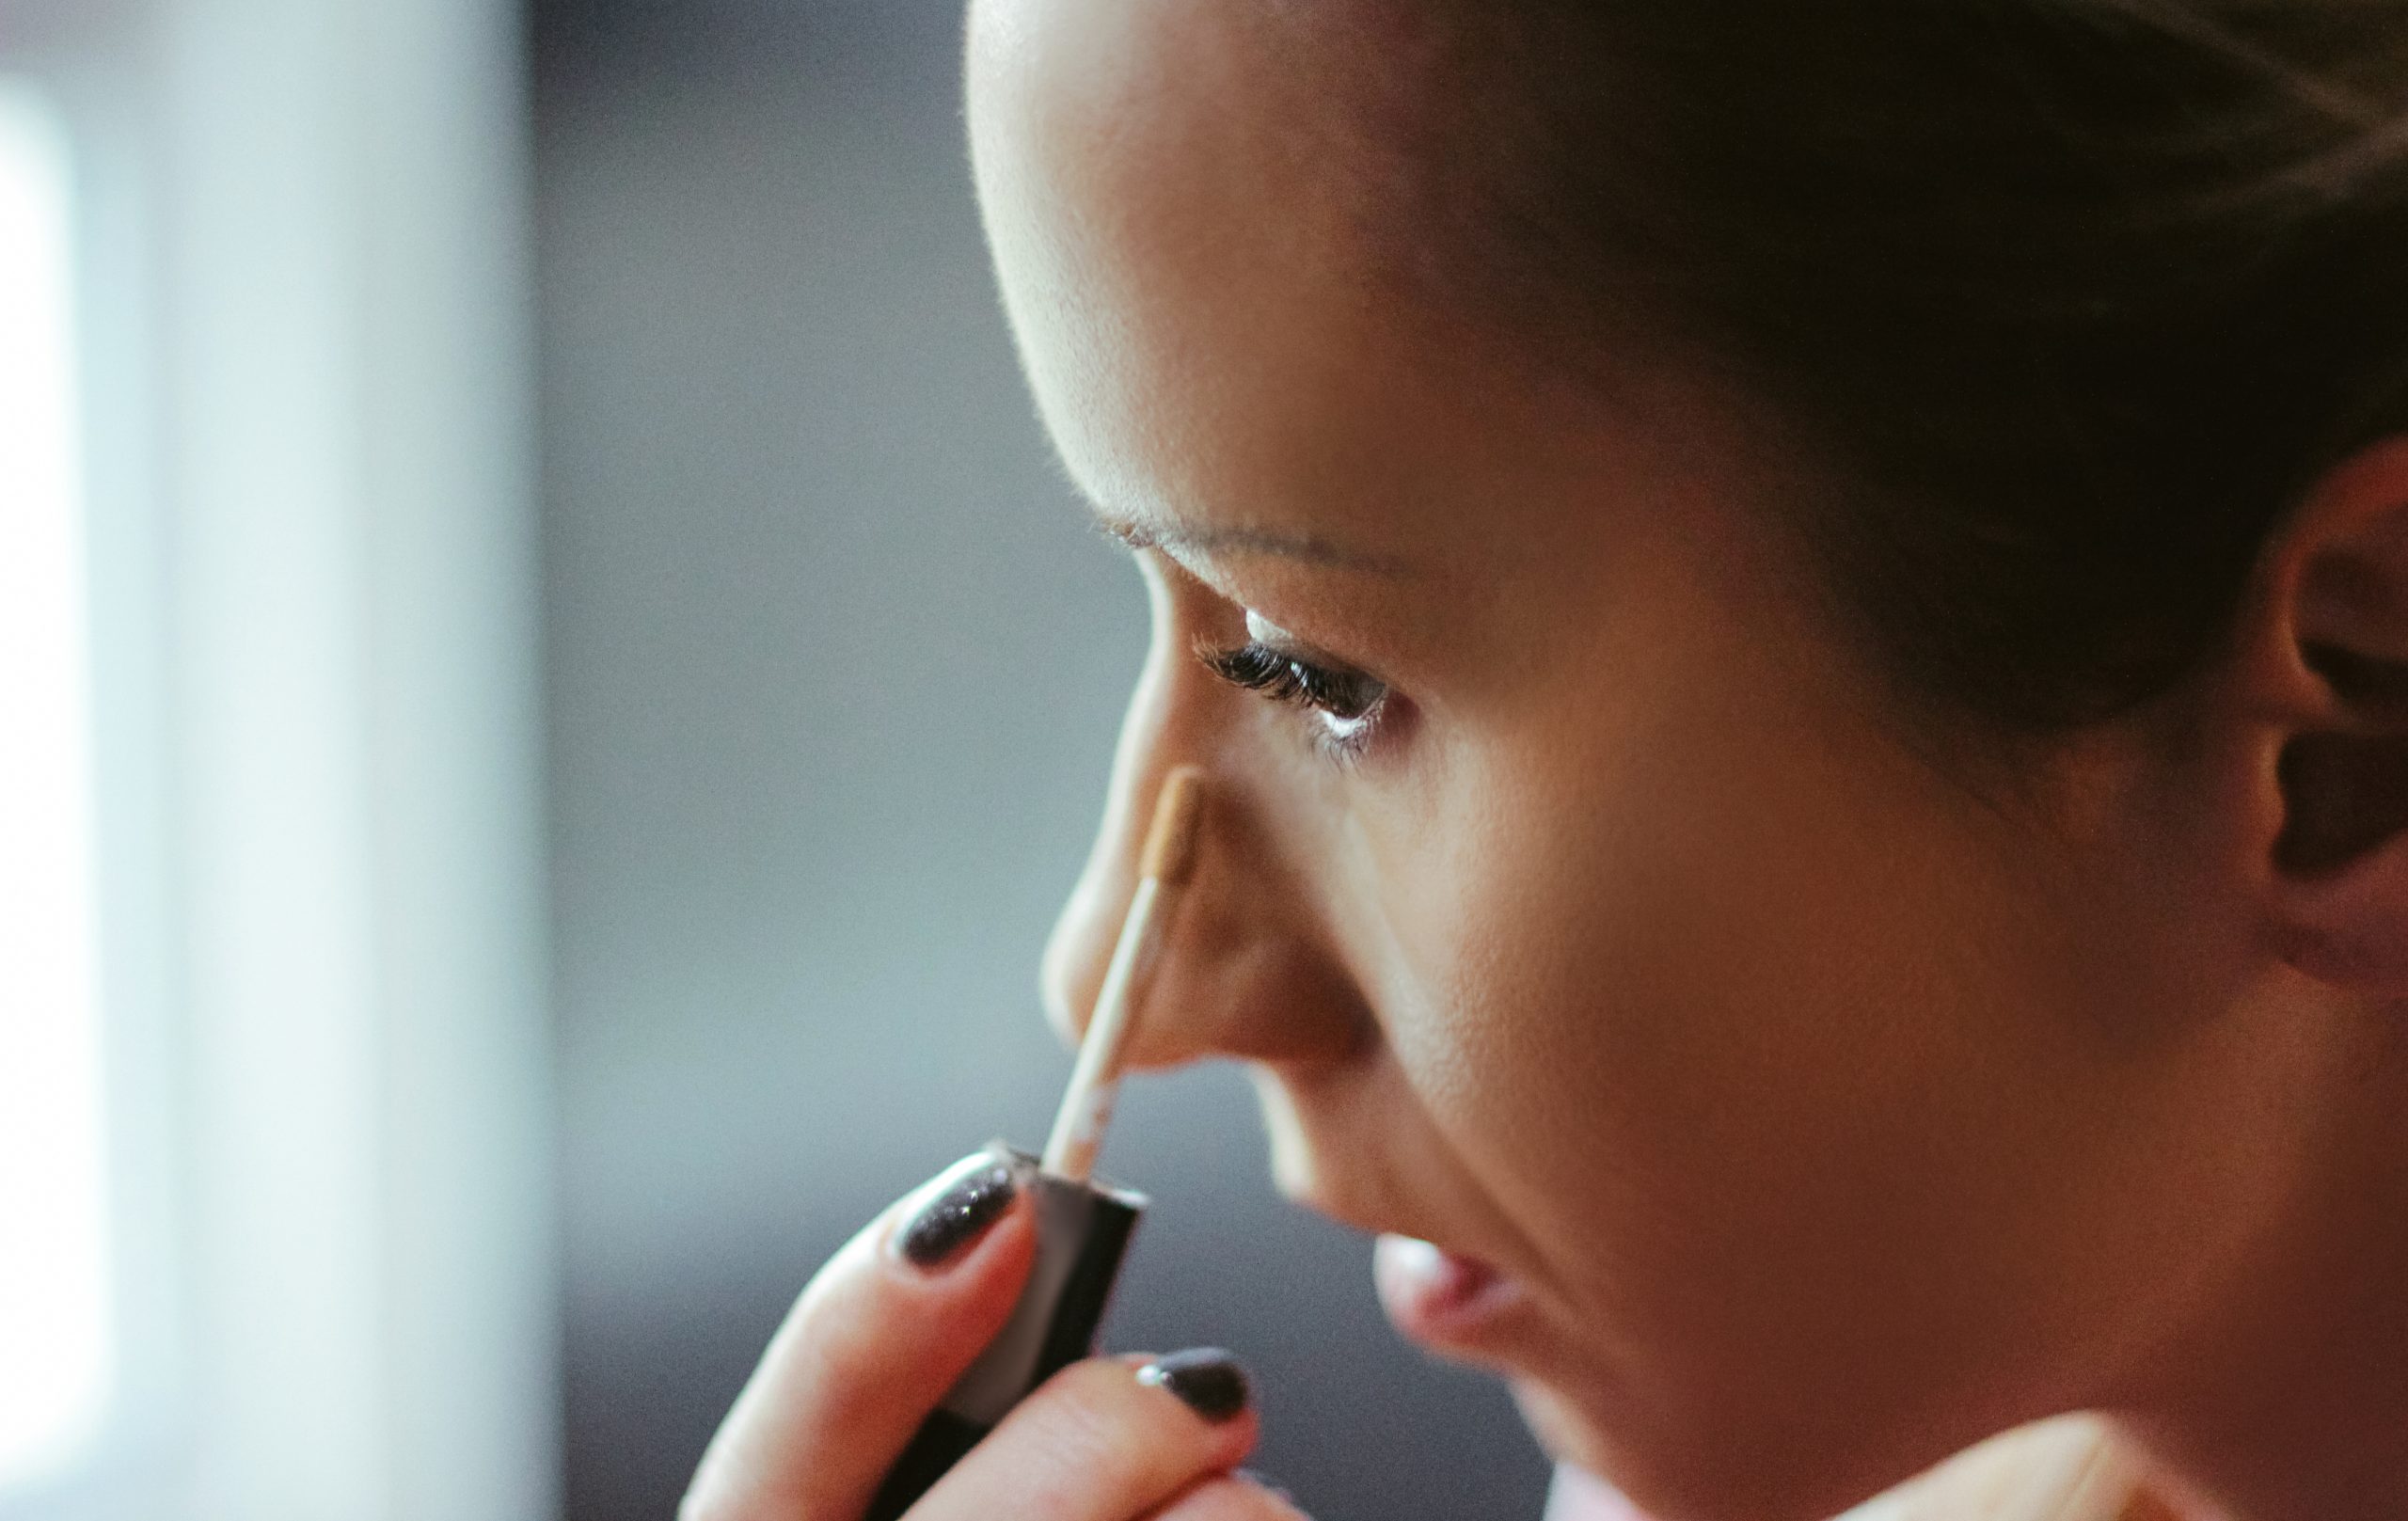
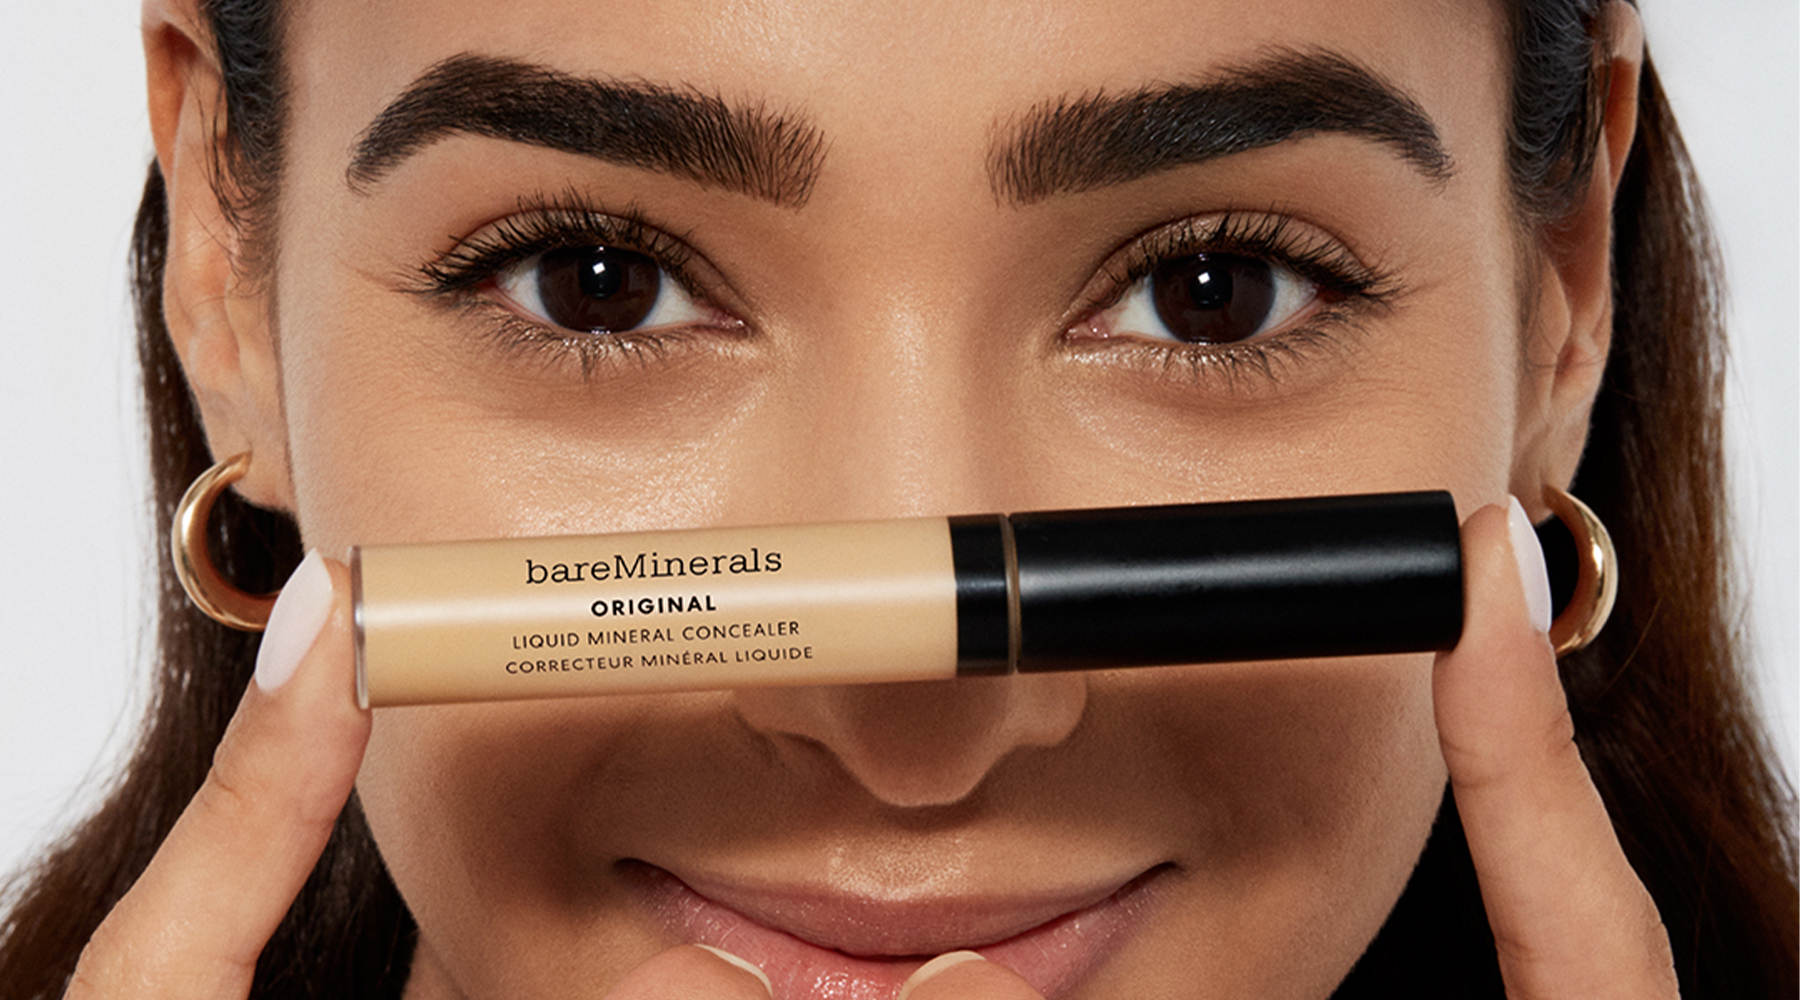
Less is more when it comes to blemishes. Too much concealer can look cakey, and draw the eye directly to the area you’re trying to conceal. Apply a high coverage concealer like Bareminerals Original Liquid Mineral Concealer sparingly with a small detailing brush and work layer by layer, blending out well. If you need more coverage, go in again. Once you’re happy, set with powder to keep your concealer in place.
Stick concealers are the epitome of make-up on the go. Just draw on where you need the extra coverage, and blend out with your finger. You get a great deal of coverage with a stick formula, such as the Bareminerals Barepro Full Coverage Concealer – something to bear in mind if you’re only after a gentle brightening effect for under the eyes.
When to apply concealer
This is often up for debate, however the general consensus is after foundation, if you’re choosing to wear any. Your foundation will even out your skin tone first, while concealer will target any areas that need extra coverage. Applying concealer onto bare skin before foundation could end up in over-application and a cakey complexion.
If you’re not a foundation fan, go straight in with your concealer after your moisturiser or primer, and buff out the edges for a naturally-perfected finish.
Where to apply concealer
Are there any areas of redness or blemishes peeking through? Conceal them! Under eyes in need of perking up? Add concealer. Want to create a more chiseled face shape? You guessed it, concealer! How to apply concealer, however, differs depending on the look you want to achieve.
Covering redness and blemishes
Less is more when it comes to blemishes. Too much concealer can look cakey, and draw the eye directly to the area you’re trying to conceal. Apply a high coverage concealer like Bareminerals Original Liquid Mineral Concealer sparingly with a small detailing brush and work layer by layer, blending out well. If you need more coverage, go in again. Once you’re happy, set with powder to keep your concealer in place.
 Brightening the under eyes
For this delicate area, go with a long-wearing liquid formula, like Estee Lauder’s Double Wear Stay-in-Place Flawless Wear Concealer or IT Cosmetics Bye Bye Under Eye. It won’t drag on sensitive skin, and aim for one slightly lighter than your skin tone (but be careful about going too light – we’re talking about one shade). Apply straight from the tube in a V shape, starting at the corner of each eye and going down towards the top of your cheekbone. Once on, use your finger or a small brush to dab in the concealer until blended, as this will be kinder on the skin. This’ll also prevent the product from spreading, so you can be sure it stays in the right area. If you’re prone to creasing, a translucent powder will help to keep everything smooth and settled.
Strobing and contouring
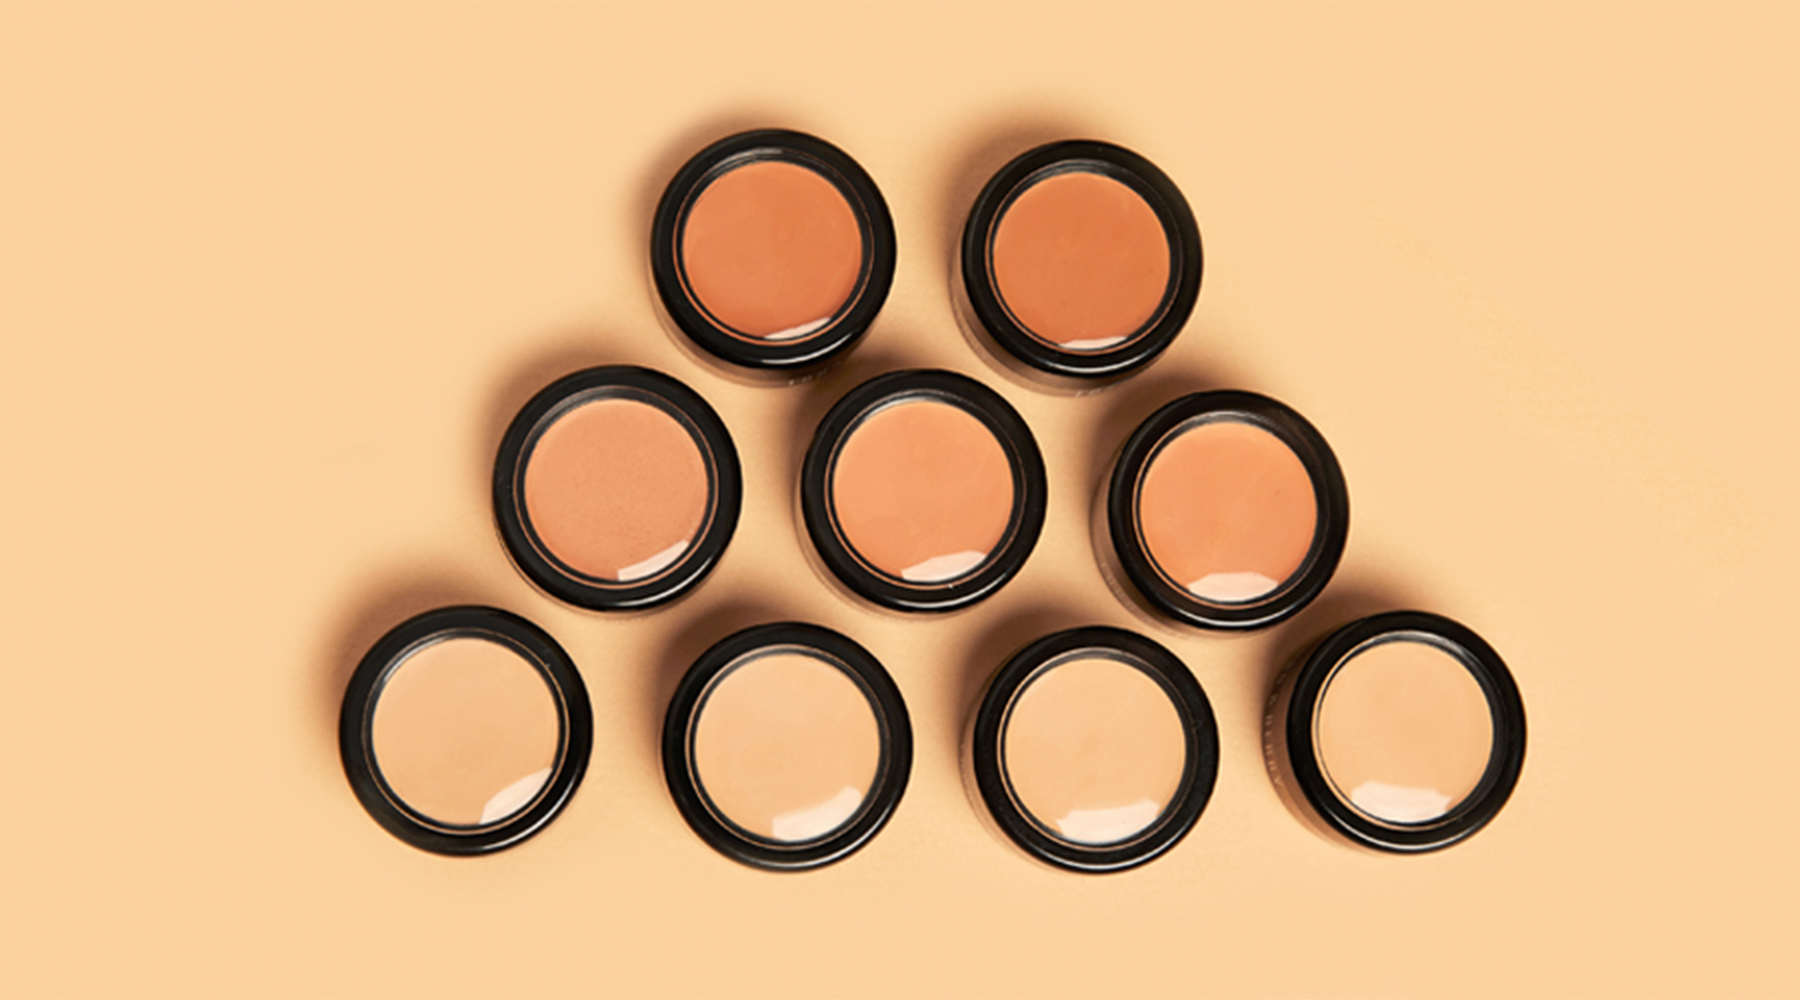
This is not for everyone, but strobing and contouring with concealer can have a great effect and it’s pretty easy to do once you’ve got the hang of it for a high-impact, full coverage look. Strobing uses a lighter concealer on the higher points of the face, where you’d naturally catch the light – cheekbones, chin, nose and forehead to name a few. Contouring uses both a lighter concealer to create the illusion of light and a darker concealer to create depth around the temples, cheekbones and jawline – the results can be very flattering and complement the natural curves of your face.
Brightening the under eyes
For this delicate area, go with a long-wearing liquid formula, like Estee Lauder’s Double Wear Stay-in-Place Flawless Wear Concealer or IT Cosmetics Bye Bye Under Eye. It won’t drag on sensitive skin, and aim for one slightly lighter than your skin tone (but be careful about going too light – we’re talking about one shade). Apply straight from the tube in a V shape, starting at the corner of each eye and going down towards the top of your cheekbone. Once on, use your finger or a small brush to dab in the concealer until blended, as this will be kinder on the skin. This’ll also prevent the product from spreading, so you can be sure it stays in the right area. If you’re prone to creasing, a translucent powder will help to keep everything smooth and settled.
Strobing and contouring
This is not for everyone, but strobing and contouring with concealer can have a great effect and it’s pretty easy to do once you’ve got the hang of it for a high-impact, full coverage look. Strobing uses a lighter concealer on the higher points of the face, where you’d naturally catch the light – cheekbones, chin, nose and forehead to name a few. Contouring uses both a lighter concealer to create the illusion of light and a darker concealer to create depth around the temples, cheekbones and jawline – the results can be very flattering and complement the natural curves of your face.
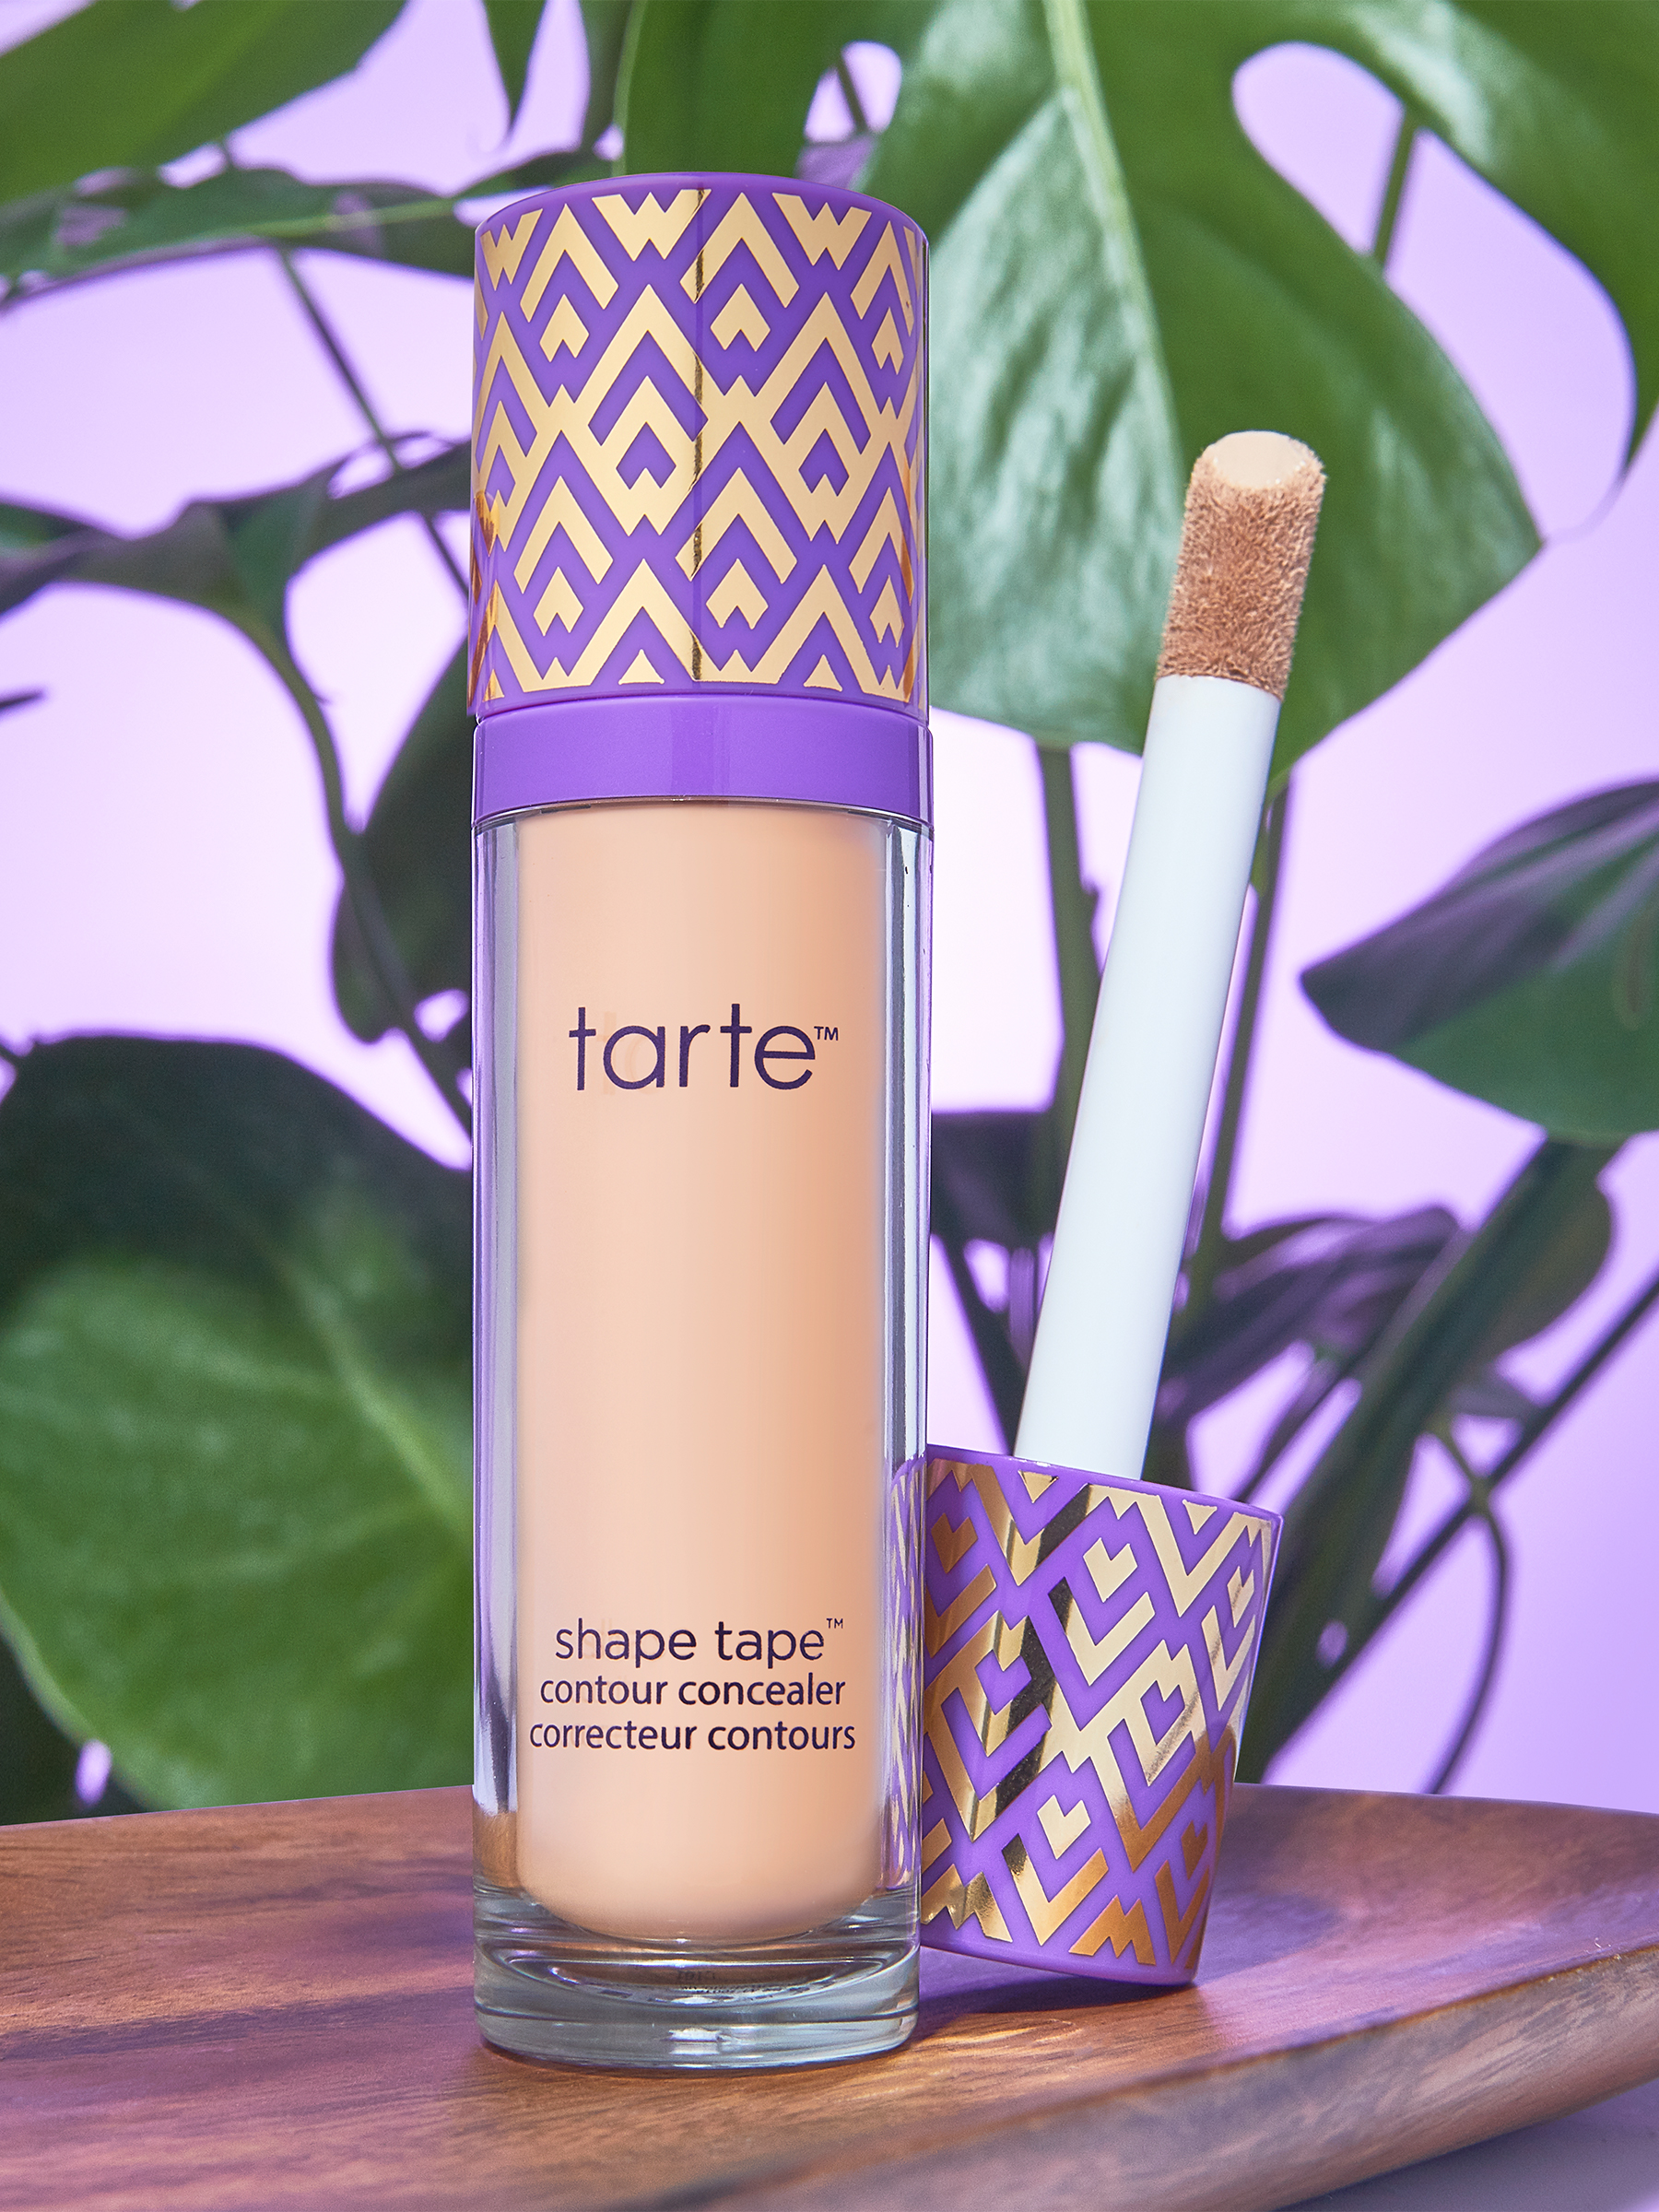 If it’s on your to-try list, go lightly, with a buildable formula like Tarte’s Shape Tape Concealer. You can always add more concealer, but it’s harder to take it away. Don’t forget to blend well too. Aim upwards and outwards, keeping away from the centre of your face for the most natural finish.
The real key with using any make-up formula is to practice and have fun with it. The more you do it, the easier it’ll become, and you’ll be holding your own make-up masterclass in no time!
If it’s on your to-try list, go lightly, with a buildable formula like Tarte’s Shape Tape Concealer. You can always add more concealer, but it’s harder to take it away. Don’t forget to blend well too. Aim upwards and outwards, keeping away from the centre of your face for the most natural finish.
The real key with using any make-up formula is to practice and have fun with it. The more you do it, the easier it’ll become, and you’ll be holding your own make-up masterclass in no time!
Liquid formulas like Doll 10’s HydraLux Smoothing Concealer are great all-rounders. With different levels of coverage available, they’re a fabulous option if you want to cover up the odd pesky spot while also concealing under the eyes. Liquid concealers are great for contouring too, as they buff out really nicely.
Creams tend to be fuller coverage but easy to blend, making them ideal for blemishes. If you love that full-on flawless effect, a cream concealer like Lord & Berry’s Flawless Concealer is one to add to your kit. Plus, you can apply a small amount using a detail brush and blend out for a seamless finish.
Stick concealers are the epitome of make-up on the go. Just draw on where you need the extra coverage, and blend out with your finger. You get a great deal of coverage with a stick formula, such as the Bareminerals Barepro Full Coverage Concealer – something to bear in mind if you’re only after a gentle brightening effect for under the eyes.
When to apply concealer
This is often up for debate, however the general consensus is after foundation, if you’re choosing to wear any. Your foundation will even out your skin tone first, while concealer will target any areas that need extra coverage. Applying concealer onto bare skin before foundation could end up in over-application and a cakey complexion.
If you’re not a foundation fan, go straight in with your concealer after your moisturiser or primer, and buff out the edges for a naturally-perfected finish.
Where to apply concealer
Are there any areas of redness or blemishes peeking through? Conceal them! Under eyes in need of perking up? Add concealer. Want to create a more chiseled face shape? You guessed it, concealer! How to apply concealer, however, differs depending on the look you want to achieve.
Covering redness and blemishes
Less is more when it comes to blemishes. Too much concealer can look cakey, and draw the eye directly to the area you’re trying to conceal. Apply a high coverage concealer like Bareminerals Original Liquid Mineral Concealer sparingly with a small detailing brush and work layer by layer, blending out well. If you need more coverage, go in again. Once you’re happy, set with powder to keep your concealer in place.
Brightening the under eyes
For this delicate area, go with a long-wearing liquid formula, like Estee Lauder’s Double Wear Stay-in-Place Flawless Wear Concealer or IT Cosmetics Bye Bye Under Eye. It won’t drag on sensitive skin, and aim for one slightly lighter than your skin tone (but be careful about going too light – we’re talking about one shade). Apply straight from the tube in a V shape, starting at the corner of each eye and going down towards the top of your cheekbone. Once on, use your finger or a small brush to dab in the concealer until blended, as this will be kinder on the skin. This’ll also prevent the product from spreading, so you can be sure it stays in the right area. If you’re prone to creasing, a translucent powder will help to keep everything smooth and settled.
Strobing and contouring
This is not for everyone, but strobing and contouring with concealer can have a great effect and it’s pretty easy to do once you’ve got the hang of it for a high-impact, full coverage look. Strobing uses a lighter concealer on the higher points of the face, where you’d naturally catch the light – cheekbones, chin, nose and forehead to name a few. Contouring uses both a lighter concealer to create the illusion of light and a darker concealer to create depth around the temples, cheekbones and jawline – the results can be very flattering and complement the natural curves of your face.
If it’s on your to-try list, go lightly, with a buildable formula like Tarte’s Shape Tape Concealer. You can always add more concealer, but it’s harder to take it away. Don’t forget to blend well too. Aim upwards and outwards, keeping away from the centre of your face for the most natural finish.
The real key with using any make-up formula is to practice and have fun with it. The more you do it, the easier it’ll become, and you’ll be holding your own make-up masterclass in no time!